I’m the first to tell you that I know nothing about using a tool as powerful as The Gimp. I get Layers, but after that, there is a realm of madness that I have not yet reached.
I have learned a cool trick tonight. It’s building on a trick I learned a couple of weeks ago. It uses layers and the overlay method. Lifehacker pointed me to digital Photography School, and I learned the overlay Gaussian Blur method. I know use this a lot.
But once I figured out layers, I figured that I could really start stacking them up. As a result of my fiddling, I stumbled onto a really cool way to make those pictures leap at you.
Let’s start with a picture of the USB hub that sits next to me.
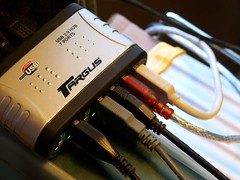
Sort of lame, with a distinct yellow hue.
Ok, create a duplicate layer. Then, INVERT the duplicate layer. You end up with something like this.

This, in and of itself, is pretty damn cool. But, there’s another layer under there. The original picture. So, what happens when you set the inverted layer to overlay mode?
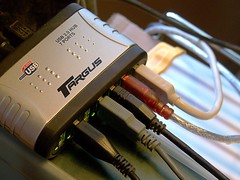
Now, you may think there isn’t much difference between this and the original. So let’s put them side-by-side.
Pow! Instant Contrast! Things like the cable in the background, the cable in the foreground, and the front edge of the hub suddenly leap out at you.
Now, the true photogs out there are likely yawning. “Yeah, so what?”, they say. “I could of done that in 30 seconds.”
But hey, it’s new to me.
Leave a Reply